Homeowners Guide to Using Insurance to Repair Storm-Damaged Fences and Decks
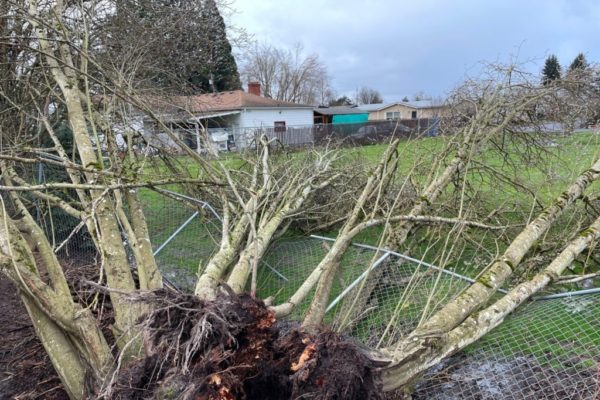
Homeowners Guide to Using Insurance to Repair Storm-Damaged Fences and Decks You’ve likely seen plenty of storms if you live in Oregon or Washington. While many can be mild, the most severe ones can significantly damage your fence or deck. After such a storm, the last thing homeowners want to deal with is issues with insurance and repairs. The…